| Most viewed - Zelda FaNaTiKaH |
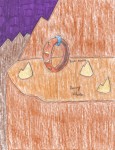
LoZ1--Power_Bracelet.jpgLoZ1 Power Bracelet425 viewsThe strength-enhancing Power Bracelet from Zelda 1.
The artwork from the manual was the reference in drawing this.DBoyWheeler
|
|
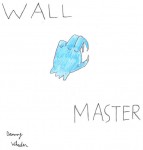
LoZ1--Wall_Master.jpgLoZ1 Wall Master425 viewsThe annoying Wall Master from Zelda 1.
I used the manual artwork as a reference, but left out the warts/bumps/whatever, since I was a wee bit lazy.DBoyWheeler
|
|
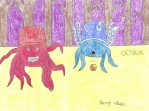
LoZ1--Octoroks.jpgLoZ1 Octoroks421 viewsThe two kinds of Octoroks from Zelda 1.
I used the manual art as reference, and drew two since the game had two colors for Octorok.DBoyWheeler
|
|
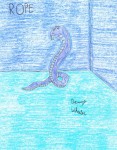
LoZ1--Rope.jpgLoZ1 Rope421 viewsThe poisonous snake Rope (as he appeared in the manual--I used the manual art as reference) in Zelda 1 (I know in the game, he looks like a cobra, but I drew how he appeared in the manual art).DBoyWheeler
|
|
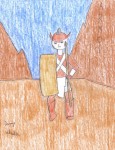
LoZ1--Armos.jpgLoZ1 Armos420 viewsArmos from Zelda 1.
I used the manual art as a reference, and used a little bit of artistic license to make him look semi-human (as opposed to his cyclops-ish look in the sprite).DBoyWheeler
|
|
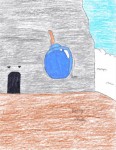
LoZ1--Bomb.jpgLoZ1 Bomb420 viewsThe bomb from Zelda 1. Which became more or less a staple in future Zelda games.
The official art in the manual was what I used as reference.DBoyWheeler
|
|
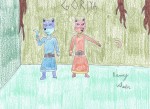
LoZ1--Goriya.jpgLoZ1--Goriya419 viewsThe boomerang-throwing weasels of DOOM! (from Zelda 1, of course).
I used the manual art as a reference, and drew two Goriyas since there were two colors for them.DBoyWheeler
|
|
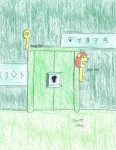
LoZ1--Keys.jpgLoZ1 Keys419 viewsThe regular Key and the Magical Key, from Zelda 1.
Manual's official artwork was the reference for this.DBoyWheeler
|
|
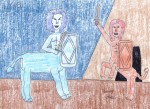
LoZ1--Lynels.jpgLoZ1 Lynels417 viewsThe two colors of Lynels in Zelda 1. I used the manual art as reference, and drew two Lynels since there were two colors of them.DBoyWheeler
|
|
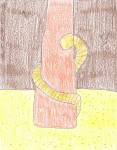
LoZ1--Moldorm.jpgLoZ1 Moldorm416 viewsThe giant earthworm from Zelda 1.
I tried to draw it as it appeared in the manual art of Zelda 1 (as opposed to how hit appeared in game), and had it climb a cave column.DBoyWheeler
|
|
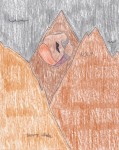
LoZ1--Rock.jpgLoZ1 Rock414 viewsThe darn falling boulders in Zelda 1. I used the manual art as a reference.DBoyWheeler
|
|
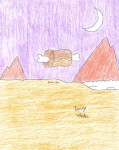
LoZ1--Enemy_Bait.jpgLoZ1 Enemy Bait411 viewsEnemy Bait from the first Zelda game.
The manual art was my reference.DBoyWheeler
|
|
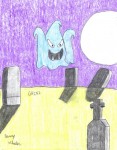
LoZ1--Ghini.jpgLoZ1 Ghini411 viewsThe ghost, Ghini, from Zelda 1.
The manual art was the reference in drawing this.DBoyWheeler
|
|
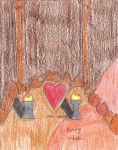
LoZ1--Heart_Container.jpgLoZ1 Heart Container411 viewsThe heart container that increases Link's life in Zelda 1.
Manual official artwork was used as reference.DBoyWheeler
|
|

LoZ1--Wooden_and_Magical_Boomerangs.jpgLoZ1 Boomerangs410 viewsThe Wooden and Magical Boomerangs from Zelda 1.
I used the official manual art as reference.DBoyWheeler
|
|
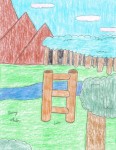
LoZ1--Ladder.jpgLoZ1 Ladder408 viewsThe Ladder from Zelda 1.
The manual artwork was the reference for drawing this.DBoyWheeler
|
|
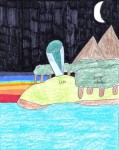
LoZ1--Letter.jpgLoZ1 Letter407 viewsThe letter Link gives to the old woman in Zelda 1 to get the Water of Life.
I used the artwork of the manual as a reference.DBoyWheeler
|
|
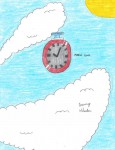
LoZ1--Magical_Clock.jpgLoZ1 Magical Clock407 viewsThe magical stopwatch of Zelda 1.
I used the artwork from the manual as a reference.DBoyWheeler
|
|
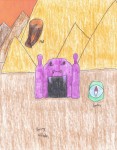
LoZ1--Map_and_Compass.jpgLoZ1 Map and Compass402 viewsThe map and compass that Link uses to guide his way in the Labyrinths (in Zelda 1).
I used the manual's official artwork as a reference.DBoyWheeler
|
|
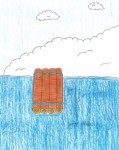
LoZ1--Raft.jpgLoZ1 Raft402 viewsThe raft in Zelda 1.
The artwork from the manual was the reference for this. And I know the sky doesn't look blue--scanner ate up the detail.DBoyWheeler
|
|
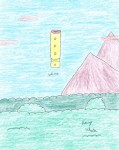
LoZ1--Whistle.jpgLoZ1 Whistle402 viewsThe magical Whistle from Zelda 1.
The manual art was my reference here. Oh, and most of you know by now that SMB3 borrowed the whistle (and the song, for that matter) for their Warp Zone Whistles. :DDBoyWheeler
|
|
|
|
|
| 453 files on 19 page(s) |
 |
|
|
|
|
|
|
|
|
|
|
|
19 |
|
 Register